
Editing on a small screen becomes difficult when your video has many clips. CapCut for PC gives you more room to arrange scenes, adjust sound, and check details. You can use your mouse and keyboard to work through each part of your project.
Table of Contents
It is useful for YouTube videos, TikTok clips, Instagram Reels, tutorials, and family memories. Beginners can start with basic settings. More experienced users can explore layers, effects, and audio tools.
CapCut Pro APK Download offers free editing tools, but some features and assets require payment. Check the free and paid options before starting a large project.
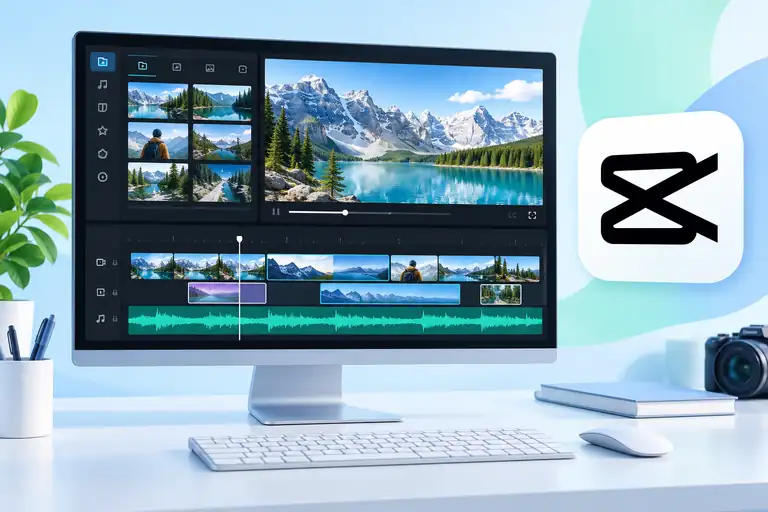
What is CapCut for PC?
- CapCut for PC is the desktop version of the CapCut video editor.
- You install it on your computer and use it to create and edit videos.
- You can trim recordings, combine clips, add music, and write captions.
- The larger workspace makes it easier to see your timeline and organise different parts of a video.
- Despite the common search term “CapCut APK for PC” the Windows version uses a desktop installer.
- An APK is an Android app file.
- You do not need an Android emulator to use the official Windows App.
Features of CapCut for PC
Multi-Track Timeline Editing
A multi-track timeline lets you arrange several elements in one project. You can place video clips, pictures, text, and audio on separate tracks.
For example, you can show a product clip while playing a voice recording. You can then add a title above the video. Each element can start and end at a different time.
Watermark Options
CapCut does not have one watermark rule for every project. Some standard edits can be exported without a watermark. Certain templates, premium assets, or export options may have different rules.
Check your project and export screen before saving. There is no single removal button that guarantees a watermark-free export in every case.
Filters and Visual Effects
Filters help change the mood of your footage. You can make a scene look warmer, cooler, brighter, or softer.
Effects and transitions add movement or connect scenes. Use them where they support your story. Too many effects can make a simple video harder to follow.
Text, Titles, and Subtitles
Add a title to introduce your topic. Use short text to explain a step or highlight an important point.
Subtitles can help people follow spoken words when they watch without sound. If you use automatic captions, read them carefully. Correct names, spelling, and timing before publishing.
Audio Editing
Add music, sound effects, or your own voice recording. You can adjust the volume so each sound fits the scene.
Keep background music lower than speech. Listen to the full video to check for sudden volume changes. Also, make sure you have permission to use your chosen music.
High-Resolution Export
CapCut offers different export settings, including high-resolution options. The choices available depend on your device, app version, and plan. Some settings, such as certain 4K or high-frame-rate exports, may require Pro.
Choose a resolution that suits your original footage and where you plan to share it. Exporting a blurry recording at 4K will not automatically restore missing detail.
How to Download CapCut for PC
Download CapCut from its official website or its official Microsoft Store listing, where available.
Follow these steps:
- Visit the official CapCut download page.
- Choose the download for Windows.
- Wait for the setup file to finish downloading.
- Open the downloaded installer.
- Follow the instructions on your screen.
- Launch CapCut when installation is complete.
You do not normally need to enable “unknown apps” or turn off your security software. If Windows shows a warning, check the download source and publisher before continuing.
System Requirements
Before installing, check the requirements shown for the current Windows version. These can change as CapCut is updated.
Pay attention to:
- Operating system: Your Windows version must be supported.
- Processor: More demanding projects need more processing power.
- Memory: Extra RAM helps when working with large clips and several layers.
- Storage: Leave room for the app, footage, temporary files, and exports.
- Graphics: Some effects and editing tasks depend on your graphics hardware.
CapCut advises checking your system version, processor, memory, and storage if installation fails.
- Do not plan storage around the installer alone.
- Video projects can use much more space after you add footage and create exports.
- An SSD and more RAM can help with demanding projects, but they do not guarantee smooth performance in every situation.
How to Start Your First Project
- Open CapCut and create a New Project.
- Import a few clips from your computer, then place them on the timeline.
- Remove unwanted sections and arrange the remaining scenes.
- Add text or music only where it improves the video.
- Watch the full project before exporting.
- Check the spelling, sound, scene order, and any payment prompts.
- Start with a short video while you learn the controls.