
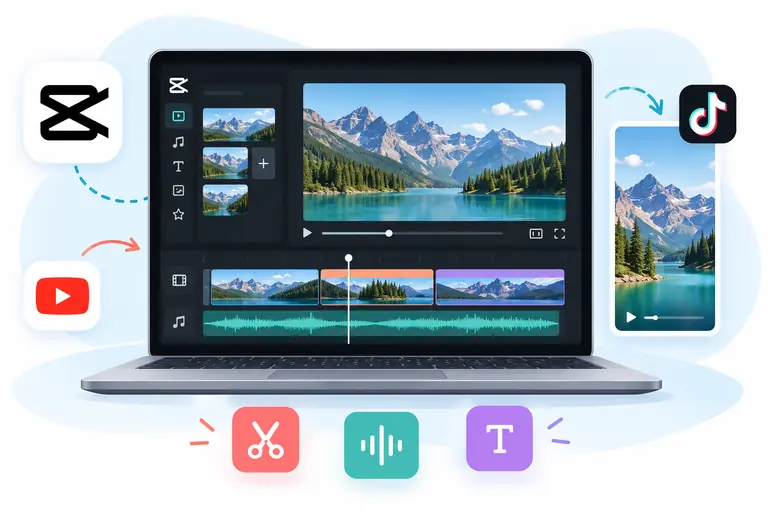
You do not need editing experience to start making videos with CapCut. You can edit TikTok and YouTube videos with CapCut. Whether you are sharing a short reel or making a longer YouTube video, the basic process is easy to learn.
Table of Contents
This guide walks you through the main steps. The instructions focus on the mobile app, though editing on a computer follows a similar process. Button names may vary by version.
Why Use CapCut for Video Editing?
CapCut brings many useful editing tools into one app. You can start with simple videos and try more features as you learn.
Some useful tools include:
- Trimming and splitting clips
- Adding text, music, and voice recordings
- Using filters, effects, and transitions
- Changing video speed
- Creating automatic captions
- Removing backgrounds
CapCut offers free tools, but some features, effects, and templates require a paid plan.
Step by Step Approach
1. Download and Open CapCut
Download CapCut from Google Play on Android or the App Store on iPhone, where available. For a computer, use the official CapCut website.
Open the app after installation. Allow access to the photos and videos you want to edit.
2. Start a New Project
Tap New Project. Choose the videos or photos you want to use, then tap Add.
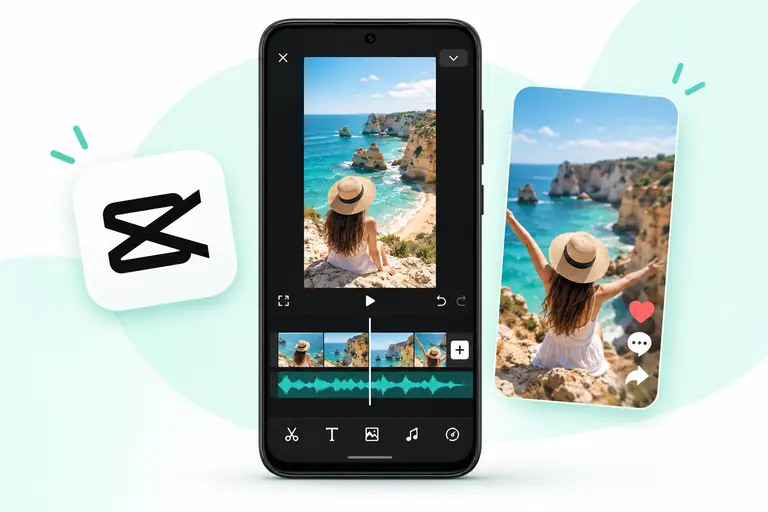
Your files will appear on the timeline. This is the area where you arrange clips and make changes. Start with a few clips so your first project is easier to manage.
3. Choose the Video Shape
Choose a shape that suits where you plan to share your video.
- 9:16: A vertical format commonly used for TikTok, Instagram Reels, and YouTube Shorts.
- 16:9: A horizontal format commonly used for regular YouTube videos.
Look for the ratio or canvas setting. Adjust each clip so the main subject stays in view. Don’t stretch the picture to fill the screen.
4. Trim and Split Your Clips
Select a clip and drag its edges to shorten it. Remove long pauses, mistakes, or parts that do not add anything useful.
To cut within a clip, move the playhead to the point you want to cut. Tap Split, select the unwanted section, and delete it. You can also move clips into a different order.
Keep the video focused on your main idea. There is no single length that works for every video. Use enough time to tell your story without repeating yourself.
5. Add Music or Your Voice
Open the audio tools to add music, sound effects, or a voice recording. Choose audio that matches the mood of your video.
If someone is speaking, lower the music so their words stay clear. Listen through headphones to check the sound. Before publishing, make sure you have permission to use the music on your chosen platform.
6. Add Text and Captions
Use text to introduce your topic, explain a step, or highlight an important point. Choose a clear font and make the words large enough to read on a phone.
You can also try automatic captions for spoken audio. Check them carefully and fix any mistakes. Keep important text away from the screen edges, where platform buttons may cover it.
7. Use Effects and Transitions
Filters can change the look of a clip. Transitions can make the change between two scenes feel smoother.
Start with a few simple choices. Too many effects can distract viewers from your message. Watch the video after each change to see whether it improves the result.
8. Review and Export Your Video
Watch your full video before saving it. Check the clip order, spelling, sound, and captions.
Tap Export when you are ready. A 1080p export is a nominal starting point for many social videos
Tips for Your First Video
- Show the main idea early.
- Choose clear clips with good lighting.
- Remove unnecessary pauses.
- Keep text short and easy to read.
- Make sure voices are louder than background music.
- Use effects that support your story.
You can begin with a simple video made from three or four clips. Trim them, add a short title, and check the sound. Once you feel comfortable with these steps, explore more of CapCut’s editing tools.